Winterisation Checklist: Water Systems, Pumps, Tanks
Preparing your caravan or motorhome for a UK winter protects your plumbing, prevents costly freeze damage, and ensures a smooth start to spring. This guide sets out a structured process for draining, protecting pumps and filters, managing hoses, and caring for the toilet cassette. You will also find concise answers to common questions, a parts checklist, and key safety notices.
How your campervan water system works
A typical leisure vehicle water system consists of:
- Fresh tank stores potable water.
- Pump draws water from the tank to the distribution lines. Most vans use a 12V diaphragm pump with an automatic pressure switch. Submersible pumps are also common in some caravans.
- Filter strainer sits on the suction side to stop debris entering the pump.
- Pipework and faucets supply cold and feed a water heater for hot.
- Water heater gas or electric, stores or heats water on demand.
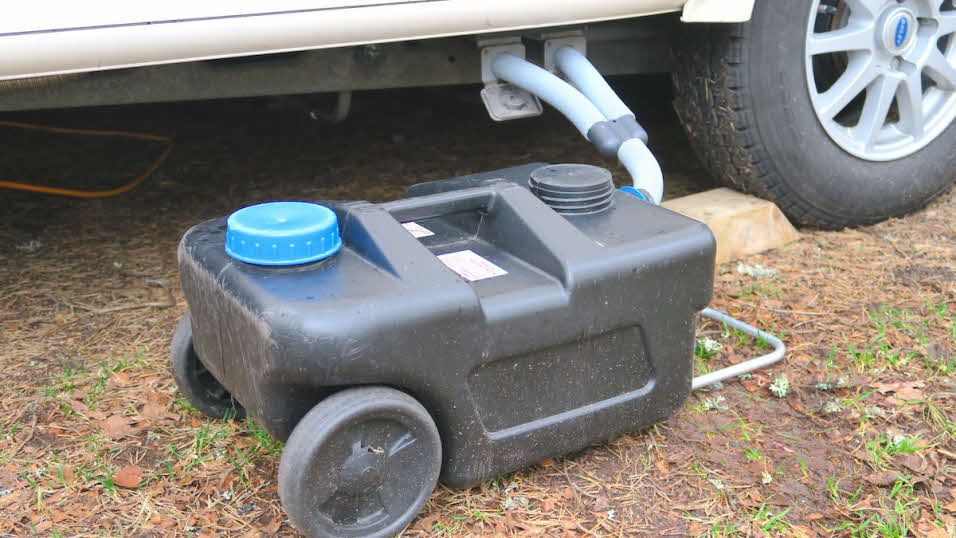
- Waste system grey water tank or direct drain to an external waste container. The toilet uses a separate cassette.
When a tap opens, system pressure drops, the pump switch activates, and water flows. Close the tap and pressure builds to the cut-out point, and the pump stops. Understanding this cycle helps you winterise correctly and diagnose faults.
Pre-winter safety checklist, step by step
Perform the following steps in order. Work on level ground with 12V power switched off unless stated.
1. Isolate heat sources
- Turn off the water heater and allow it to cool.
- Disconnect mains hook-up.
- Switch off gas at the cylinder if you will store the vehicle.
2. Drain fresh water tank
- Open the tank drain.
- Open all taps to the mid position, both hot and cold, to admit air.
- Leave the tank cap off to speed draining.
3. Bypass and drain the water heater
- Open the heater drain plug or safety drain valve as per the manufacturer.
- If a bypass kit is installed, set it to bypass to avoid filling the heater with antifreeze.
- Do not force plastic drain bungs. Replace seals once drained.
4. Purge the distribution lines
- With the tank empty, briefly pulse the pump to push remaining water out of low points.
- Do not run the pump dry for extended periods. Short bursts only.
- Leave taps open until flow stops.
5. Protect the pump and filter strainer
- Remove the filter strainer bowl and empty it.
- Clean the mesh and refit.
- For diaphragm pumps, remove inlet and outlet hoses and shake out residual water, then reconnect with secure hose clips.
- If in doubt, remove the pump and store it in a frost-free place.
6. Toilet cassette care
- Empty and rinse the cassette.
- Leave the blade valve slightly open to prevent sticking.
- Lubricate seals per manufacturer guidance.
- For off-season freshness, dose only after recommissioning with Toilet Blue, following the 25ml measure instruction.
7. Hoses and external connections
- Disconnect drinking water hoses and waste hoses.
- Drain them fully, coil loosely, and store indoors.
- Fit caps to keep out dirt.
- Remove and dry any in-line adapters and elbows.
8. Low-point drains
- If your system has low-point drain cocks, open them and leave them open until spring.
- Verify that all branches are empty by gently blowing through tap outlets or using compressed air at very low pressure with care.
9. Antifreeze strategy, if required
- In very cold regions, consider pumping a small volume of non-toxic, potable RV antifreeze through the cold side only and through the pump head to protect check valves and diaphragms.
- Do not mix antifreeze with the hot water heater unless the unit is fully bypassed and rated for it.
- Never use automotive antifreeze.
10. Final checks
- Close taps, refit caps, and label the heater as bypassed.
- Place a note at the control panel stating the system is drained.
- Leave internal doors and lockers ajar for airflow.
Common questions
What size water pump do you need for a caravan?
For most caravans and coachbuilts with one to three outlets, a 10 to 12 litres per minute diaphragm pump at around 30 to 45 psi is suitable. Larger vans with simultaneous shower and galley use may justify 13 to 15 LPM. Match hose size, fittings, and fuse to the pump’s specifications, and include a proper filter strainer on the inlet.
How long can you leave water in a caravan tank?
Avoid leaving water standing in the tank for extended periods. In season, change it at least weekly. Out of season, store the tank dry. Biofilm and odour develop quickly in dark, tepid tanks, and stagnant water can foul pumps and strainers. After storage, sanitise the system before first use.
Should caravan water tanks be full or empty for winter?
Empty. A full tank is at risk of splitting if water freezes. Drain the fresh tank, water heater, filters, and pipework completely. Leave caps and low-point drains open until recommissioning, then close them before refilling.
How to tell if a camper water pump is bad
- Pump runs but no water: check for empty tank, blocked filter strainer, or air leaks on the suction side. If those are clear, internal valves may be worn.
- Pump cycles rapidly with taps closed: points to a leak, a failing non-return valve, or pressure switch issues.
- No operation at all: check fuse, 12V feed, earth, and switch. If power is present and the motor is silent, the pump may have failed.
- Unusual noise or vibration: can indicate air in lines, loose mounts, or bearing wear.
- Low flow at all outlets: suspect clogged strainer, collapsed hose, scaled aerators, or weakened diaphragm. Measure current draw against specifications to confirm.
Parts and tools checklist
Plumbing and protection
- Replacement pump (example: a 10 to 12 LPM diaphragm pump)
- Water pump filter strainer (transparent type for easy inspection)
- Hose clips sized for your pipework
- Waste hose and adapters, including a 45 degree adapter for clean draining
- Food grade RV antifreeze (UK potable type) if using antifreeze method
- Replacement O-rings for heater drains and cassette seals
Tools and consumables
- Screwdrivers, pliers, adjustable spanner
- Towels, catch trays, and a small wet vacuum or hand pump
- Non-abrasive cleaner and cassette seal lubricant
- Low-pressure air source (optional, use with caution)
Recommissioning in spring
- Close all drains and caps. Set heater valves from bypass to normal.
- Sanitise the system: dose per product directions, fill with fresh water, then run each tap until the smell of sanitiser is present. Leave to stand, then flush with clean water until odour free.
- Inspect the pump and strainer for leaks. Check hose clips.
- Test hot and cold at every outlet.
- Verify the toilet cassette seals and dose Toilet Blue for first use.
Safety notices
- Never use automotive antifreeze in potable systems.
- Do not pressurise the system with high-pressure air. Excess pressure can damage fittings and heaters.
- Isolate 230V mains before working on any appliance.
- Allow water heaters to cool before draining.
- Dispose of grey water and cassette contents at approved facilities only.
- Confirm appliance specific procedures in the manufacturer’s manual.
Summary
Winterisation is a methodical process, not a difficult one. Drain the tanks and heater, purge the lines, protect the pump and strainer, and store hoses indoors. Keep the cassette clean and unlatched, and never leave fresh water standing over winter. Selecting an appropriate pump and using a proper inlet strainer will provide reliable pressure and simplify maintenance. Follow the steps in this checklist and you will reduce freeze damage, avoid odours, and save time when spring arrives.